Downloading and Installing IntelliJ IDEA
In this article, we will look at how to download and install IntelliJ IDEA.
First, a few words about what IntelliJ IDEA is. IntelliJ IDEA is an integrated development environment (IDE) for various programming languages, particularly Java. In our previous lessons, we wrote programs in a text editor and ran them from the command line. However, in real-world development, programmers use specialized IDEs. Besides IntelliJ IDEA, other development tools include NetBeans and Eclipse. In this course, we will be using IntelliJ IDEA.
To download IntelliJ IDEA, go to the JetBrains download page. JetBrains is the company that owns IntelliJ IDEA.
At the top of the page, you can select your operating system:
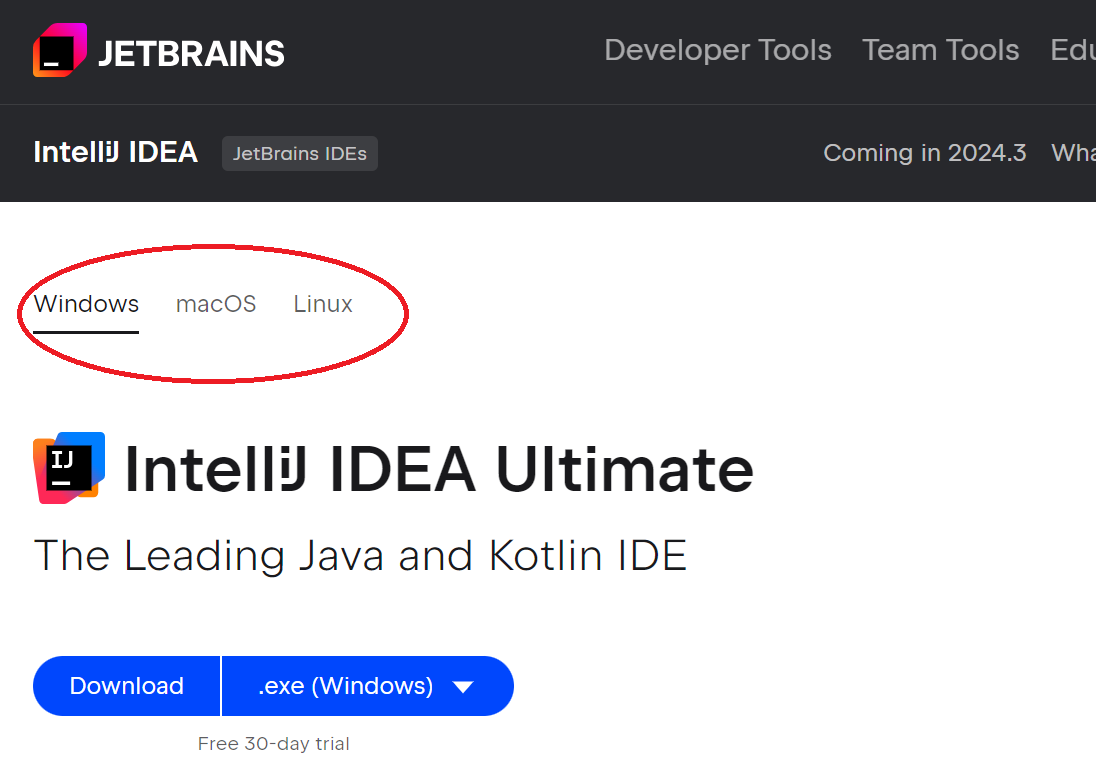
There are two versions of IntelliJ IDEA. The first is the paid Ultimate Edition, which comes with a 30-day trial period. If you scroll down, you will find the second version, the Community Edition, which is free:

If you are just starting to learn Java, the Community Edition will be sufficient.
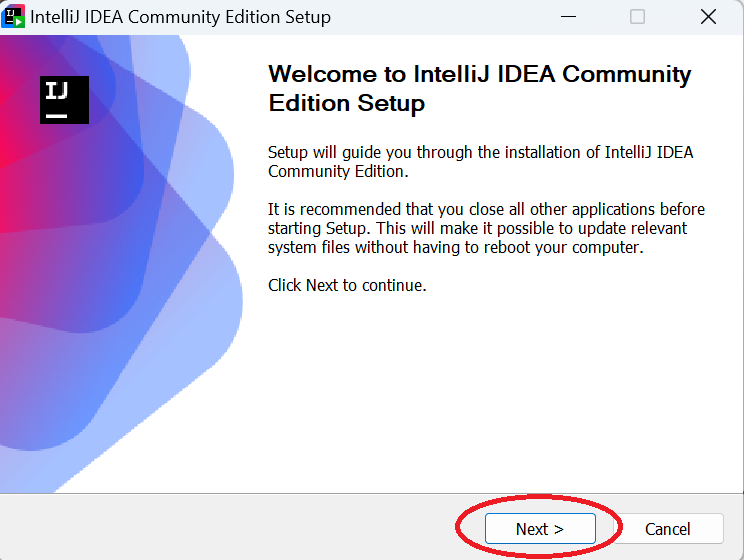
Select the file type for download and click "Download". After downloading, launch the installer and click "Next":
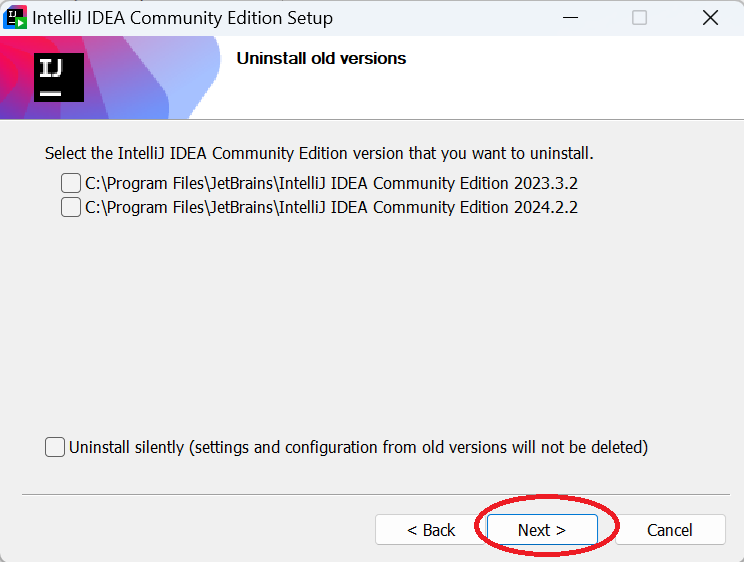
If you have previous versions installed, you can either remove them or keep them, then click "Next":
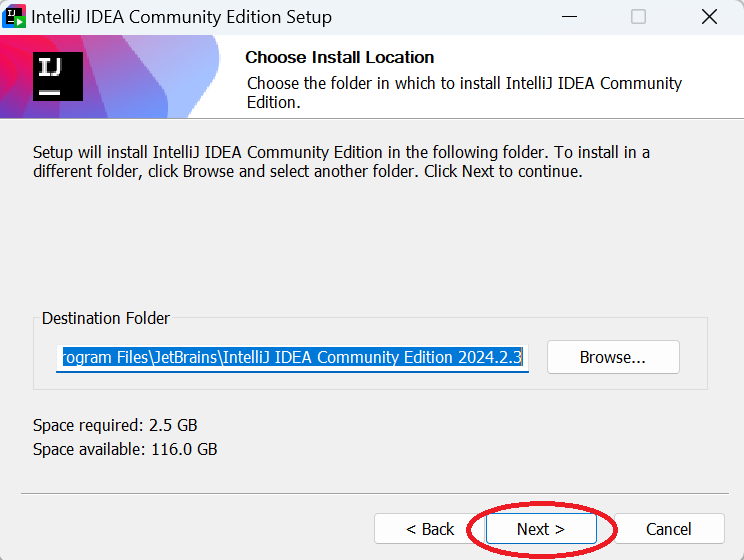
On the next step, you can choose the Destination Folder for IntelliJ IDEA or keep the default option, then click "Next":
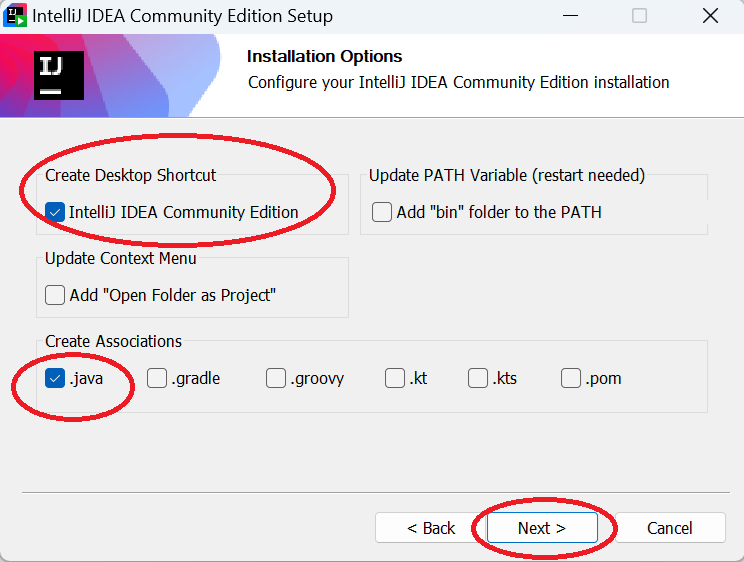
In the next step, you can check "Create Desktop Shortcut" and select ".java" in "Create associations". Click "Next":
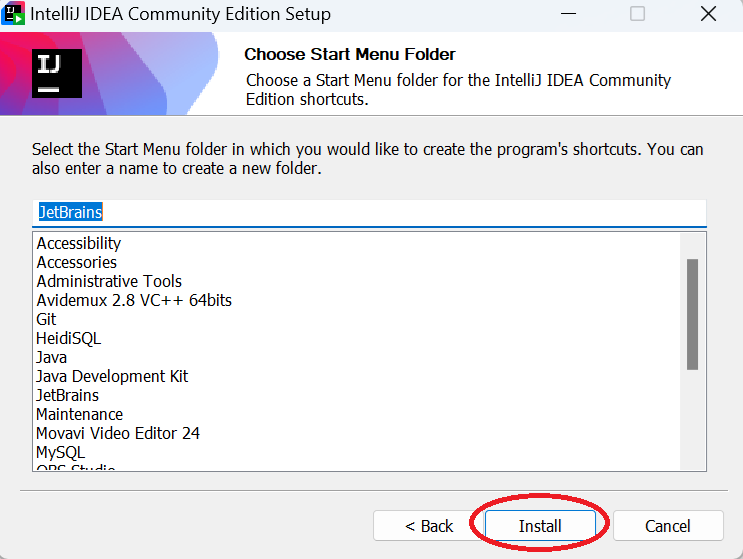
On the final screen, click "Install" and wait for the installation to complete:
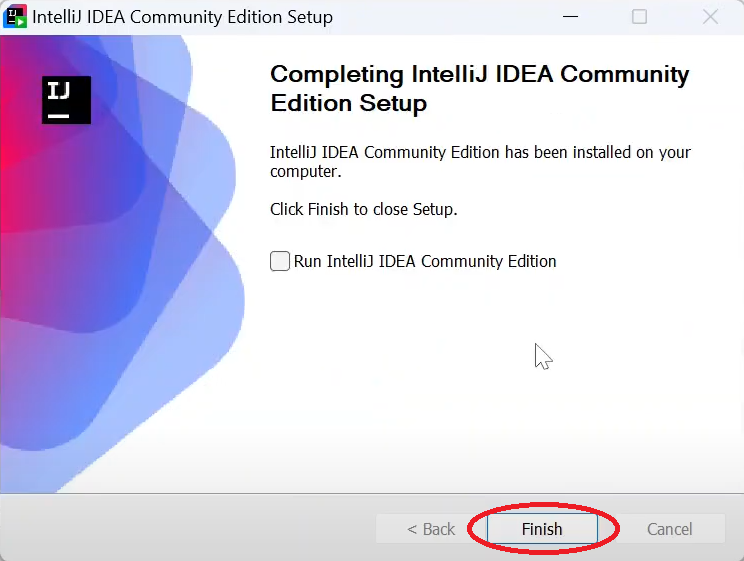
Once the installation is complete, you can check "Run IntelliJ Community Edition" to launch it immediately and click "Finish":
That's it! IntelliJ IDEA is now installed and ready to use.
In our next article, we will start working with IntelliJ IDEA and create our first project.