Creating a Project in IntelliJ IDEA - A Beginner's Guide
In this lesson, we will look at how to create a project in IntelliJ IDEA.
Step 1: Launch IntelliJ IDEA. If you are opening it for the first time, you will see the following window:
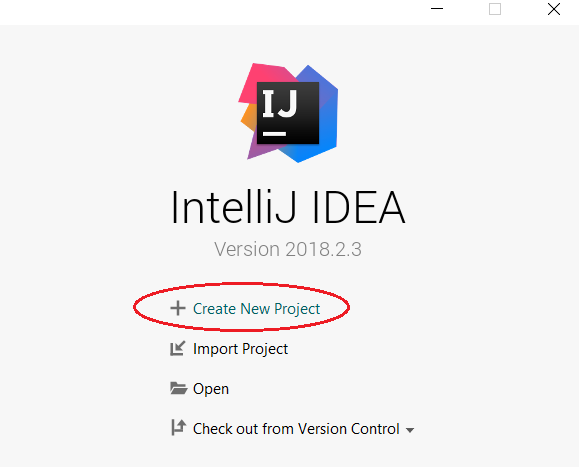
Select "Create New Project."
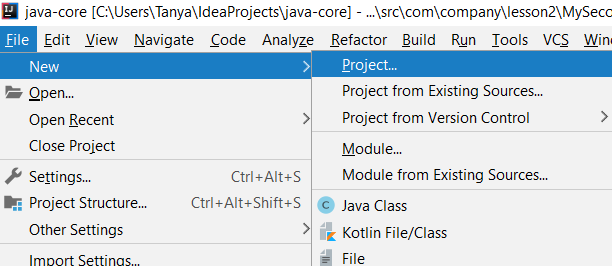
If you have previously worked with IntelliJ IDEA, your last project will open automatically. To create a new project, go to File -> New -> Project:
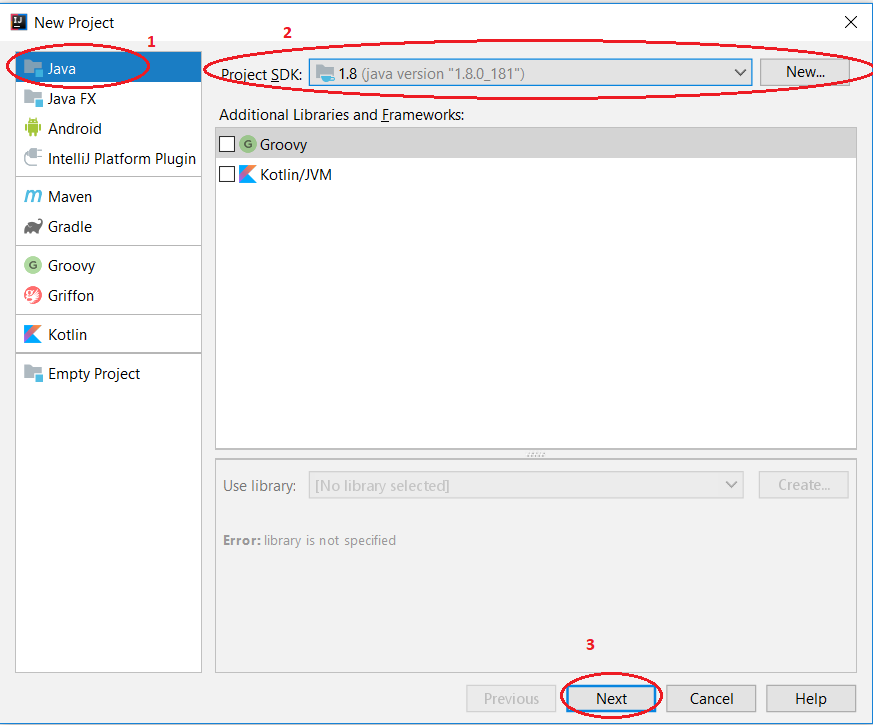
Step 2: In the newly opened window, select "Java." In the "SDK" field, choose the required Java version. If no options are available, click "New" and locate the Java (JDK) directory on your system. Click "Next."
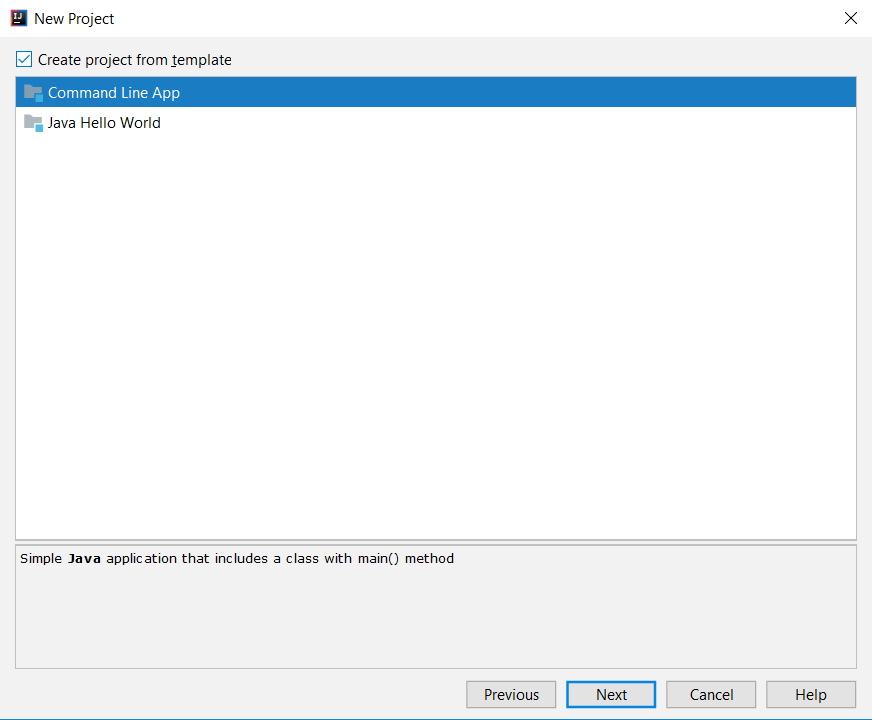
Step 3: In the next window, you can select a template for your project (optional). Check the box for "Create project from template" and select "Command Line App." Then, click "Next."
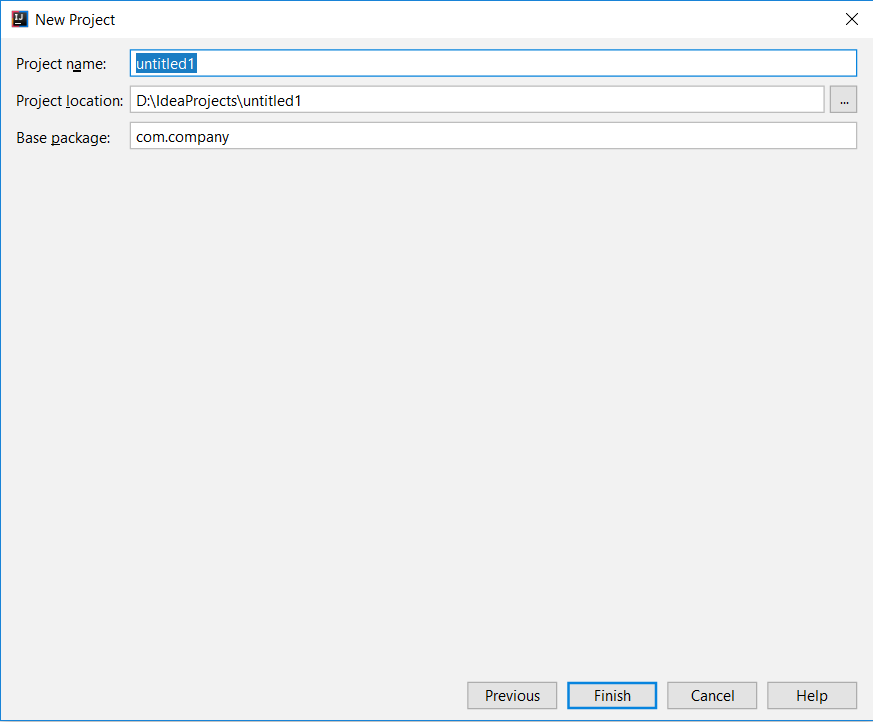
Step 4: Enter your project name in the "Project name" field. In "Project location," choose the directory where the project will be saved. Optionally, specify a package name in "Base package." Finally, click "Finish."
That's it! Your project has been created and opened. In the "Project" panel on the left, you can see the project structure:
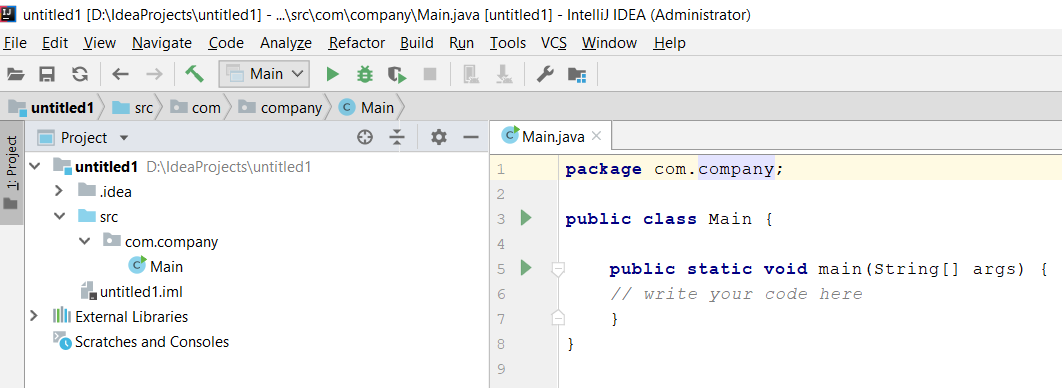
The newly created project includes a "src" folder with package directories "com/company" and a pre-created "Main" class.