Установка IntelliJ IDEA


В этой статье мы рассмотри как скачать и установить IntelliJ IDEA.
Для начала пару слов о том, что же такое IntelliJ IDEA. IntelliJ IDEA - это интегрированная среда разработки программного обеспечения для многих языков программирования, в частности Java. В предыдущих наших уроках мы писали программы в текстовом редакторе и запускали из командной строки. Конечно же при реальной разработке так никто не делает, и чаще всего используются специальные IDE. Кроме IntelliJ IDEA есть и другие средства разработки, такие как например Netbeans и Eclipse. Но мы в этом курсе будем использовать именно IntelliJ IDEA.
Итак, для того чтобы скачать IntelliJ IDEA переходим на страницу сайта Jetbrains. Jetbrains - это компания, которая обладает правами на IntelliJ IDEA.
Сверху на этой странице можно выбрать операционную систему:
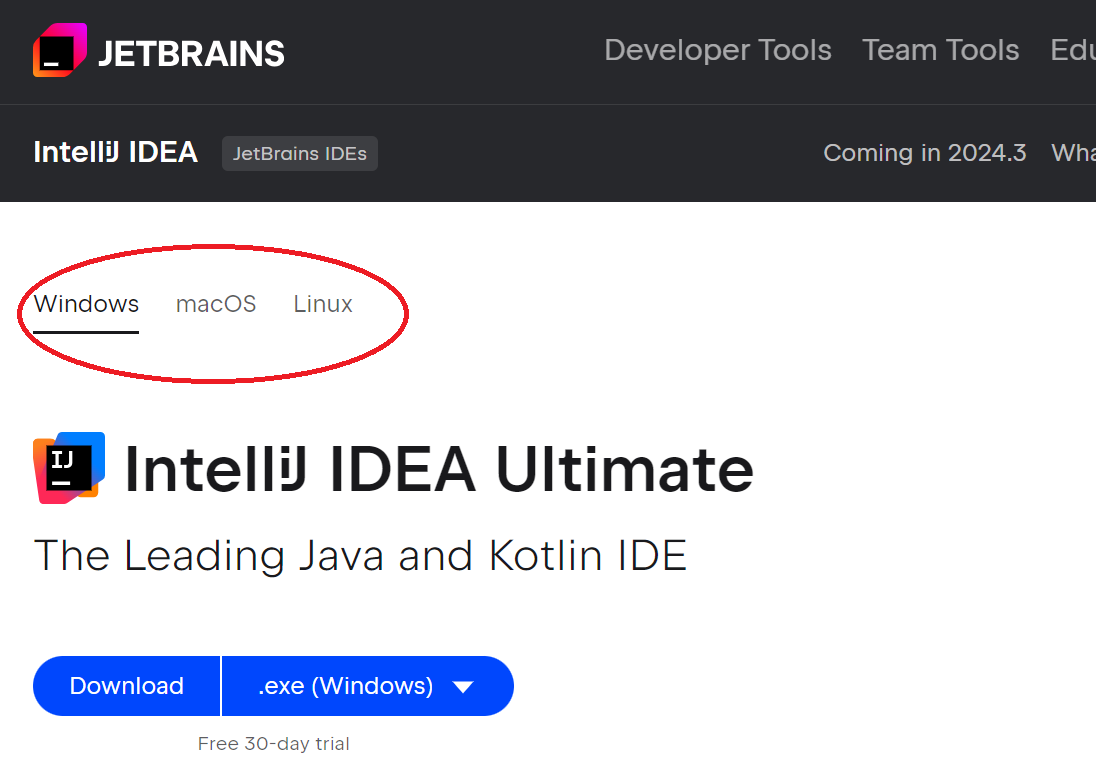
Существуют две версии IntelliJ IDEA. Первая платная - Ultimate Edition, которую мы сразу же её видим. Для неё существует тридцатидневный пробный период. Но если вы проскролите ниже, вы увидите вторую версию IDE - это Community Edition, которая является бесплатной:
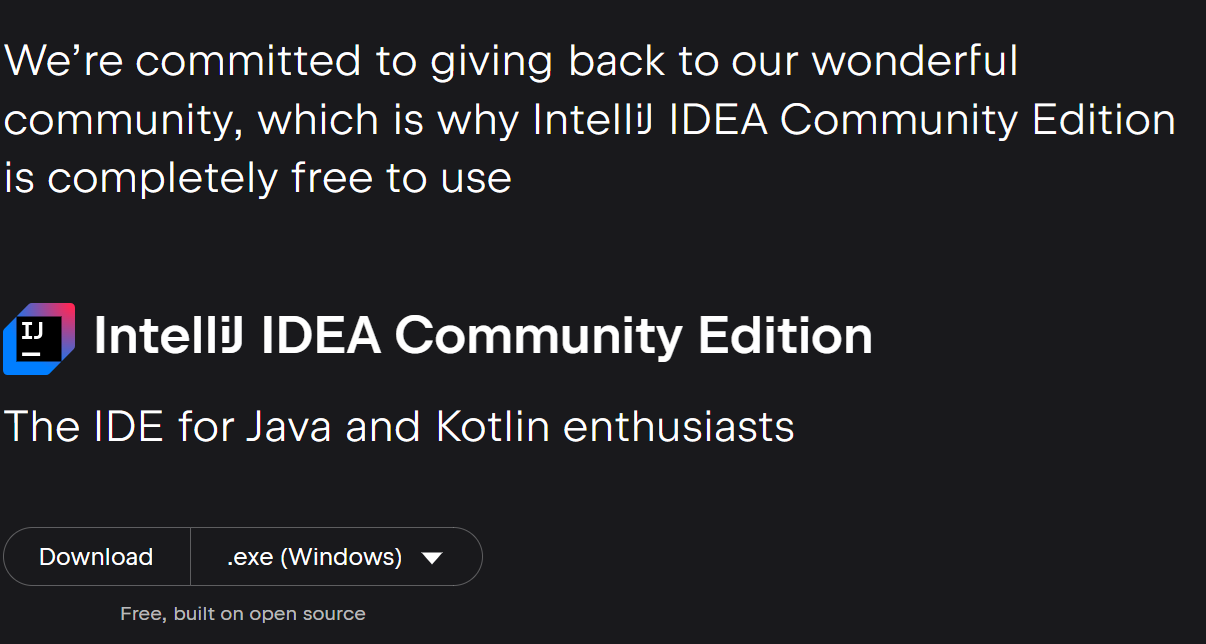
Если Вы только начинаете изучать Java, её Вам вполне будет достаточно.
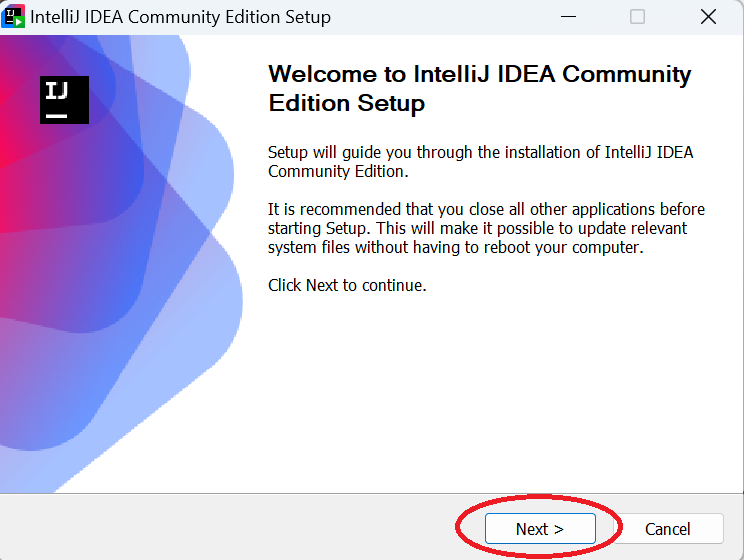
Выбираете тип файла для скачивания и нажимаете download. После скачивания запускаете скачанный файл и видите следующее окно, на котором нажимаете Next:
Если у вас есть предыдущие версии их можно удалить либо оставить, и опять нажимаете Next: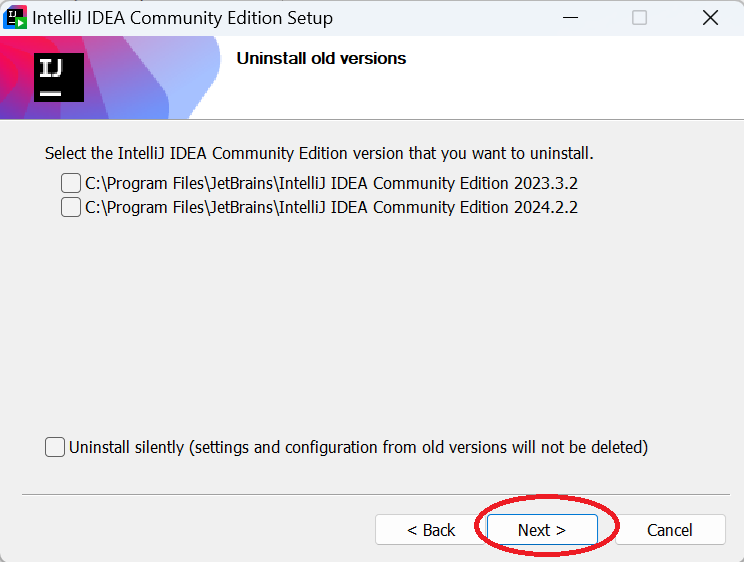
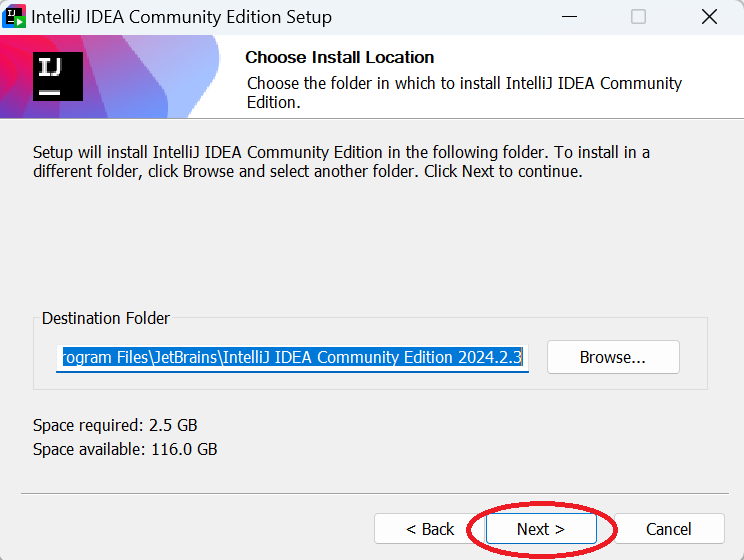
На следующем шаге можно выбрать Destination Folder для вашей IntelliJ IDEA или оставить предложенное по умолчанию. И опять нажимаем Next:
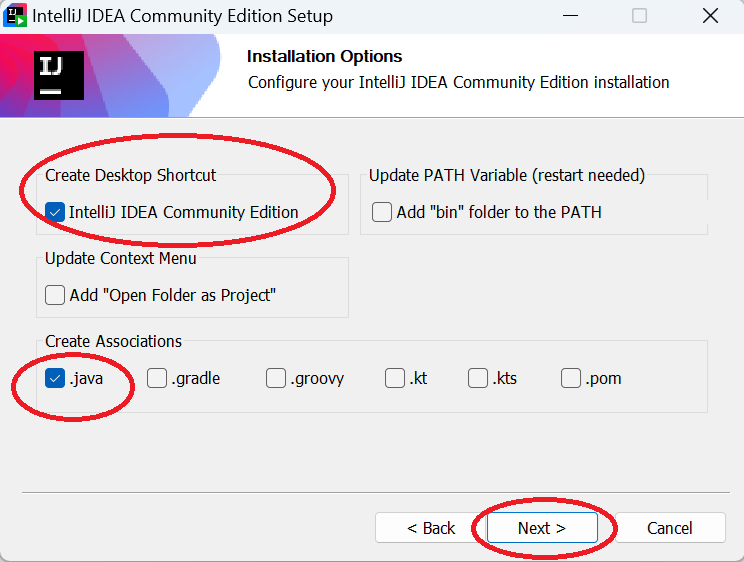
На следующем шаге можно поставить галочку в Create Desktop Shortcut, и в Create associations выбрать .java. Нажимаем Next:
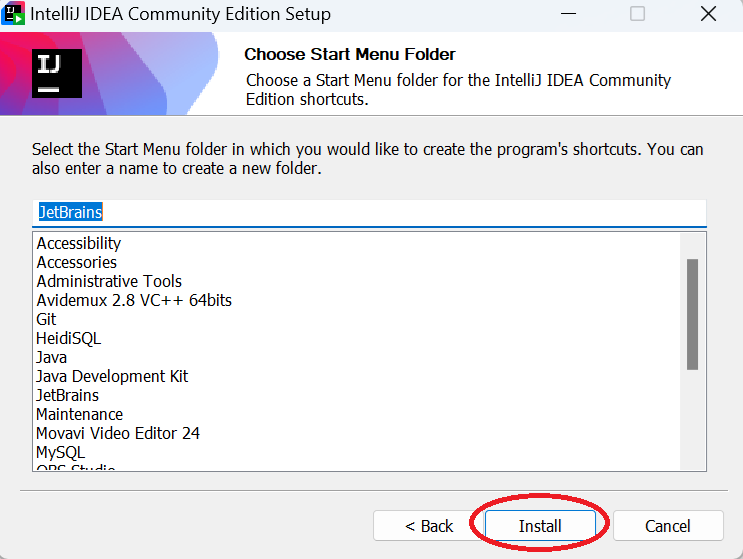
И в последнем окошке нажимаем Install, после чего ждём пока установка закончится:
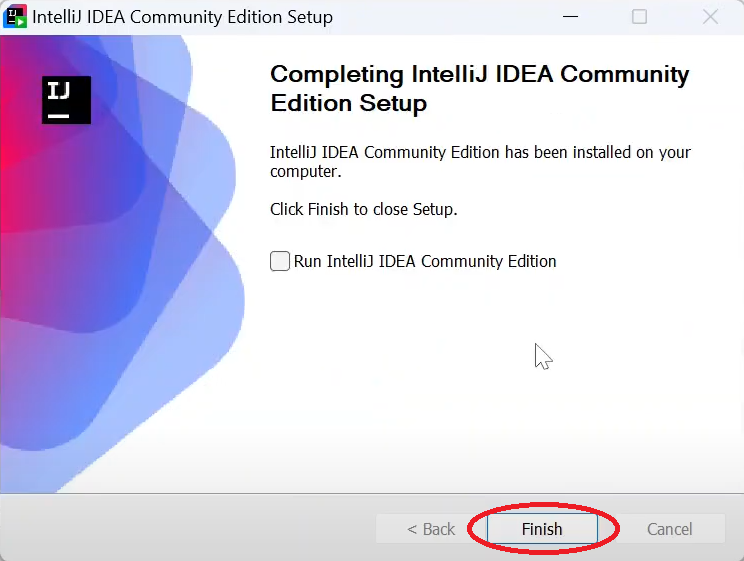
После того как установка закончена, для того чтобы сразу же открыть IntelliJ IDEA, можно поставить здесь галочку Run IntelliJ Community Edition. И нажимаем Finish:
Итак, всё - установка IntelliJ IDEA закончена и мы можем её открыть.
В следующем нашей статье мы уже начнём работу с IntelliJ IDEA и создадим наш первый проект.
Please log in or register to have a possibility to add comment.